Macadamia nuts with their characteristic hard shells
However, homestead farmers and garden growers have long utilized these same husks, converting them into a useful substance called biochar. Biochar is a sustainable soil amendment technique similar to compost that improves plant health. It also locks carbon from the atmosphere into the ground to aid several plant growth.
Biochar began when indigenous farmers in the Amazon basin regions created fertile black soils thousands of years ago by adding a mixture of charcoal and organic matter to aid plant growth.
Today, with climate change and soil degradation on the rise, the production of biochar from agricultural byproducts such as macadamia husks is becoming more relevant than ever.
At Let's Grow Home, we help gardeners and small-scale farmers make the most of their farm and kitchen waste to produce organic fertilizers on their own in large quantities.
Biochar: What It Is and Why It Matters
For centuries—long before synthetic fertilizers—farmers found that adding charred plant matter kept soils productive for decades.
Biochar is simply charcoal made for soils. It's produced by heating biomass in a low-oxygen environment (pyrolysis). Instead of burning to ash, the material carbonizes, leaving a light, highly porous, carbon-rich structure that plants and soil life benefit from.
How biochar works in soil
- Physical: It opens up soil structure. The tiny pores relieve compaction and improve air and water movement around roots.
- Chemical: With a high cation exchange capacity (CEC), it holds on to key nutrients like nitrogen and phosphorus, reducing leaching.
- Biological: Its stable pores create long-term habitat for beneficial microbes and fungi, supporting natural nutrient cycling.
Biochar isn't a stand-alone substitute for compost, fertilizers, or good management. Think of it as durable scaffolding for soil health. Mixed with compost or natural fertilizers, it can boost fertility, increase water retention, and help build a more resilient soil ecosystem.
Reviews (including work summarized by the International Biochar Initiative) report higher nutrient availability, more earthworms, and, under the right conditions, substantial yield gains. Beyond the garden, biochar also helps with climate mitigation: because its carbon is very stable in soil—often for centuries—it acts as a form of long-term carbon sequestration.
Biochar's ability to hold nutrients in place is one of its most underrated qualities. Nitrogen, in particular, often escapes from soil through leaching or volatilization. When biochar is present in any soil, it captures some of these inherent soil nutrients, holding them in its pores until plants are ready to use them. That means better growth, less waste, and healthier soil year after year.
Why Macadamia Husk For Biochar?
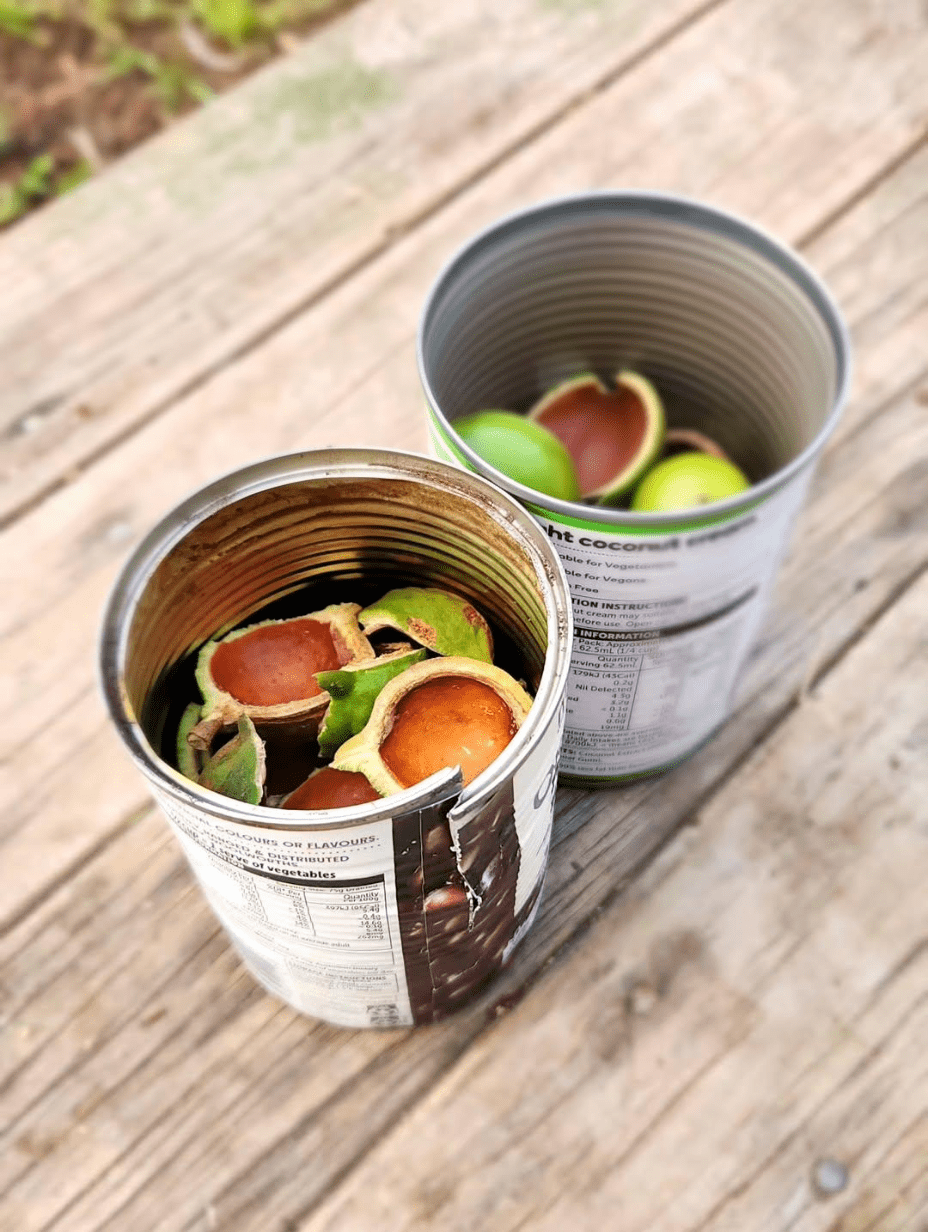
Husks loaded in DIY tin can kilns
Macadamia husks are one of the most durable agricultural byproducts you will find common to New Zealand and Australian farmers. Their shells are designed by nature to protect the nut inside from pests, weather, and damage. That same durability makes them a perfect material for producing long-lasting biochar for soils.
Macadamia husks are packed with lignin, a natural compound in plant cell walls that resists breakdown. During pyrolysis, lignin transforms into stable carbon structures.
- Biochar from husks can stay active in soil for centuries, compared to softer feedstocks that may break down in a few decades.
- This means a single application can keep improving your soil structure and nutrient retention for generations.
When dried properly, husks burn with a steady flame and minimal visible smoke. This is because their dense structure releases gases slowly and evenly during heating, giving those gases more time to combust fully.
Even before they're charred, macadamia husks contain valuable minerals that can support plant growth:
- Potassium for strong flowering and fruiting.
- Calcium for balanced soil pH and root development.
- Magnesium for healthy green foliage through chlorophyll production.
Once turned into biochar, these minerals bind to the carbon structure and are released slowly over time, staying in the root zone where plants can use them.
The hard husk produces a rigid, well-defined pore system when converted to biochar. These pores are critical for:
- Holding water in dry periods.
- Providing a home for beneficial microbes.
- Improving aeration in heavy soils and water retention in sandy soils.
Because it's so stable and mineral-rich, macadamia husk biochar is a good base for biochar that's pre-loaded with specific nutrients or microbes before being applied. Soaking husk biochar in compost beds makes it an excellent amendment for vegetables. Mixing it with animal bedding captures nitrogen, creating a rich, microbe-friendly product when it's later added to compost.
Step By Step — Making Biochar from Macadamia Husks
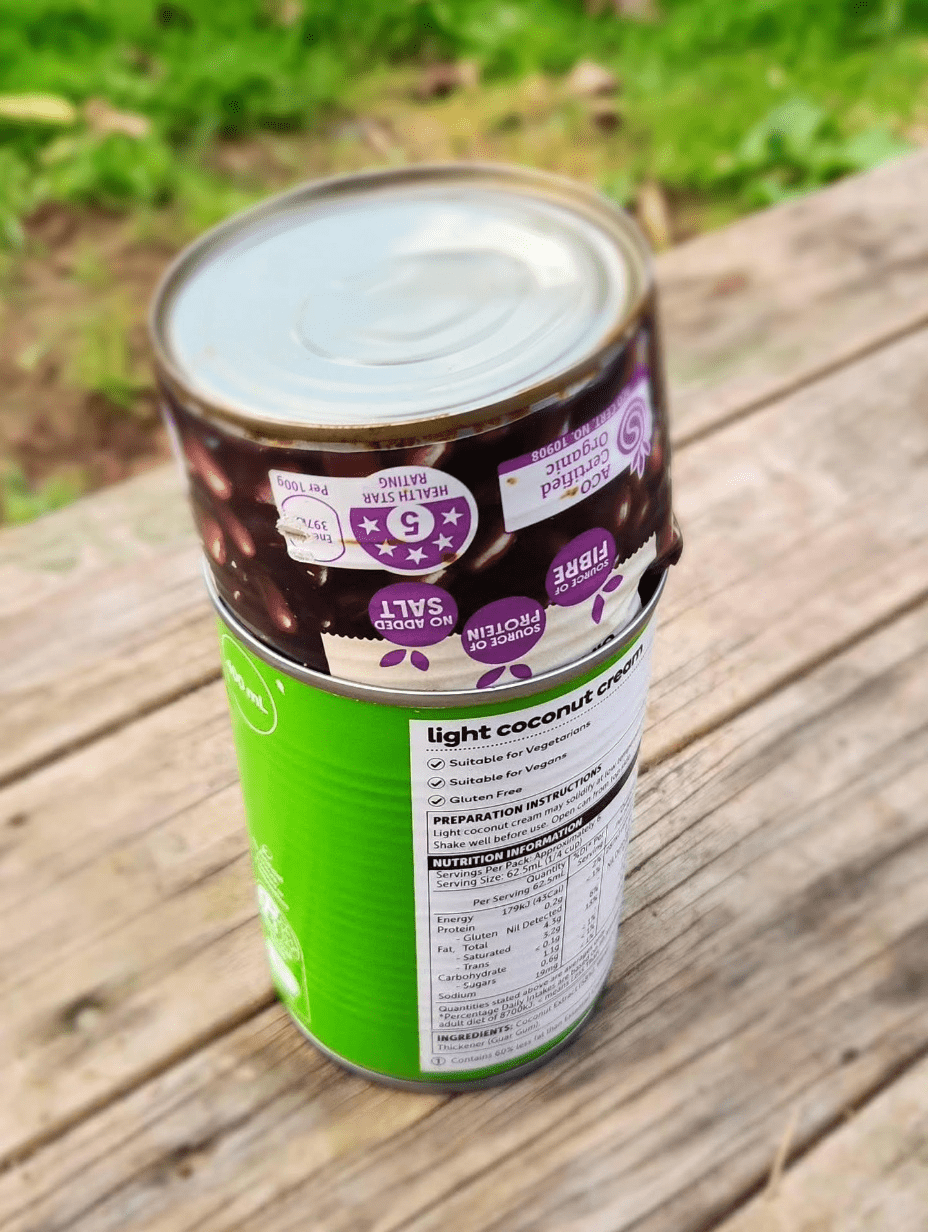
Simple tin can biochar kiln setup
Making biochar from macadamia husks isn't complicated, but it does require some planning and attention to detail. Start with clean, dry macadamia husks. Any nut residue left inside will smolder and create excess smoke, which can affect both efficiency and air quality. You will have to do a thorough cleaning procedure to ensure no nut residue remains attached to the husk.
Macadamia husks are extremely dense. You'd need to break down larger pieces into halves or quarters to increase their surface area. This process allows heat to penetrate more evenly and reduces the total burn time during charging. You can use a mallet or step on them with sturdy farm boots.
Afterwards, dry the husk in sunlight for a few hours. Moisture slows the pyrolysis process and produces more smoke. We are aiming for husks with less than 15% moisture content. If your husks feel cool or damp to the touch, spread them in a sunny, well-ventilated area for several days before burning.
There's more than one way to turn husks into biochar. See our previous article here for more elaborate procedures. For small-scale production, these three systems are the most practical:
1. Open-Top Barrel (Flame Cap)
Place a clean, unpainted 55-gallon steel drum on bricks or a metal frame to allow airflow underneath. Light a small fire at the base using kindling. Add in the husks in batches, only as much as the flames on top can handle at a time. This flame cap consumes the smoke before it escapes. Continue adding husks until the drum is almost full of glowing embers, then stop feeding the fire.
2. Cone Pit Kiln
Dig a cone-shaped pit for the biochar about 1 meter across at the top and tapering to the bottom. Light a small fire in the base, then start adding husks gradually. Keep a strong flame on top; this prevents smoke from escaping and encourages cleaner combustion. A cone pit concentrates heat and makes it easy to keep adding fuel from above.
3. TLUD (Top-Lit Updraft) Gasifier
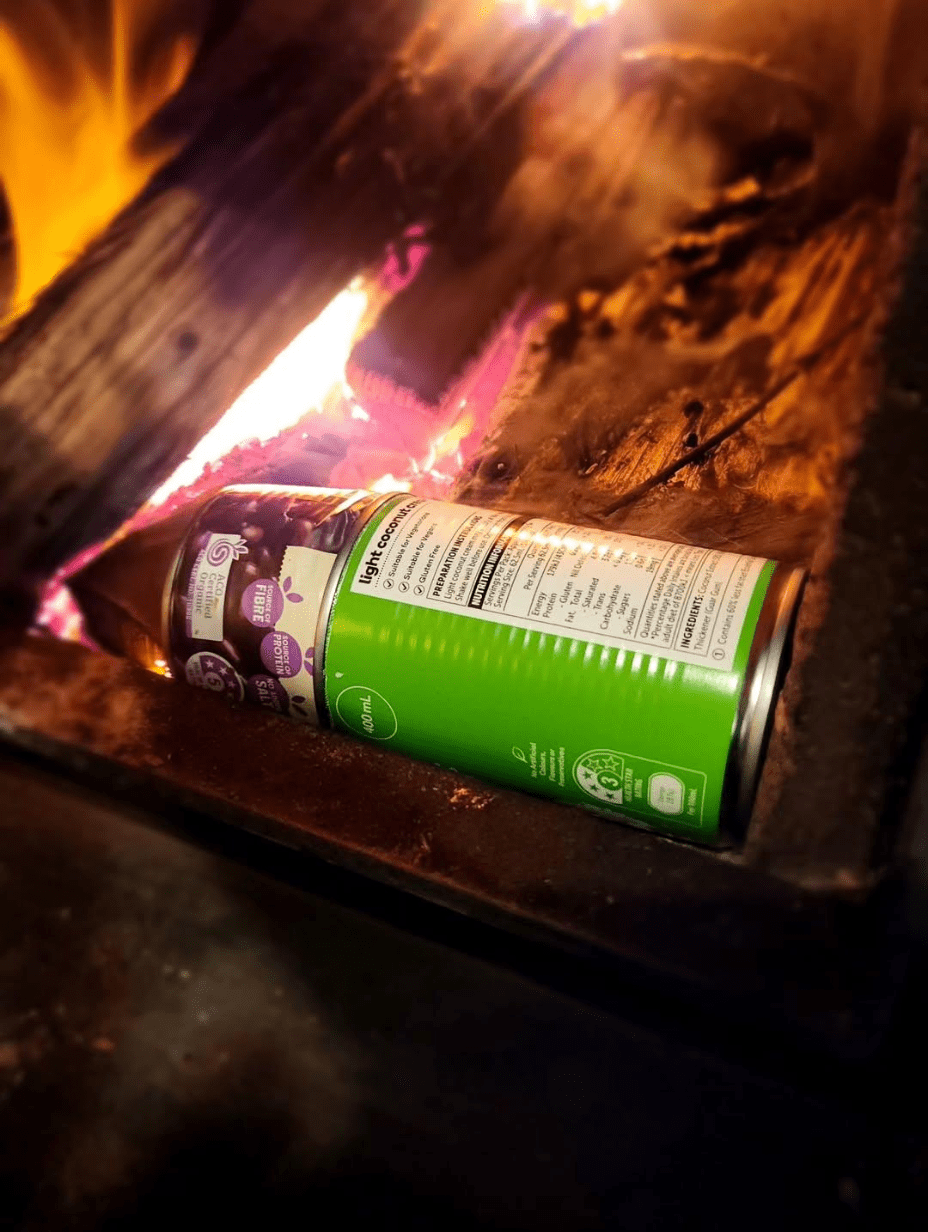
Pyrolysis process in action
Use a vertical metal cylinder (a repurposed drum works) with small air holes drilled near the base. Fill it with husks, then light them from the top. The fire burns downward, and the limited oxygen entering from below drives pyrolysis instead of full combustion. TLUDs produce very little smoke and are efficient for smaller batches.
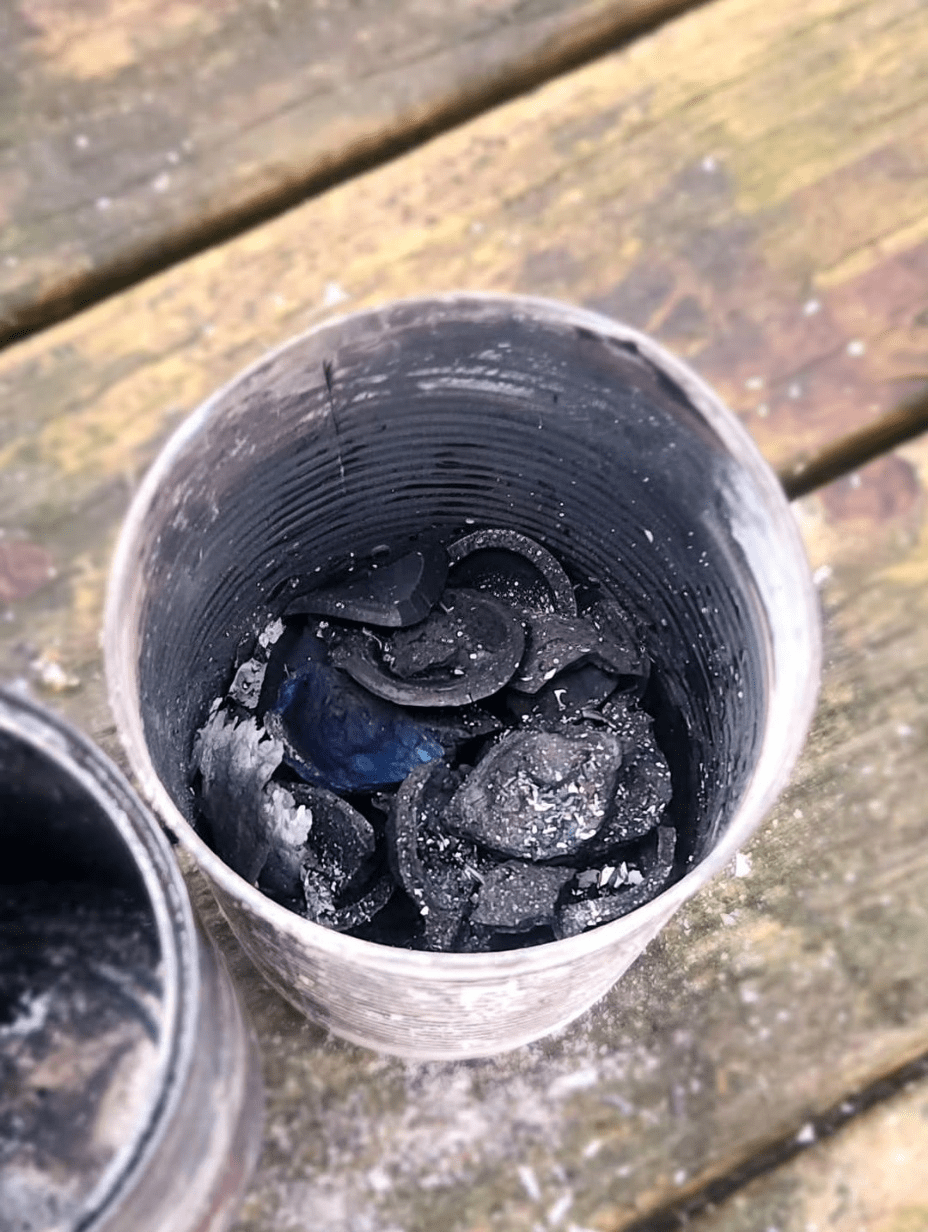
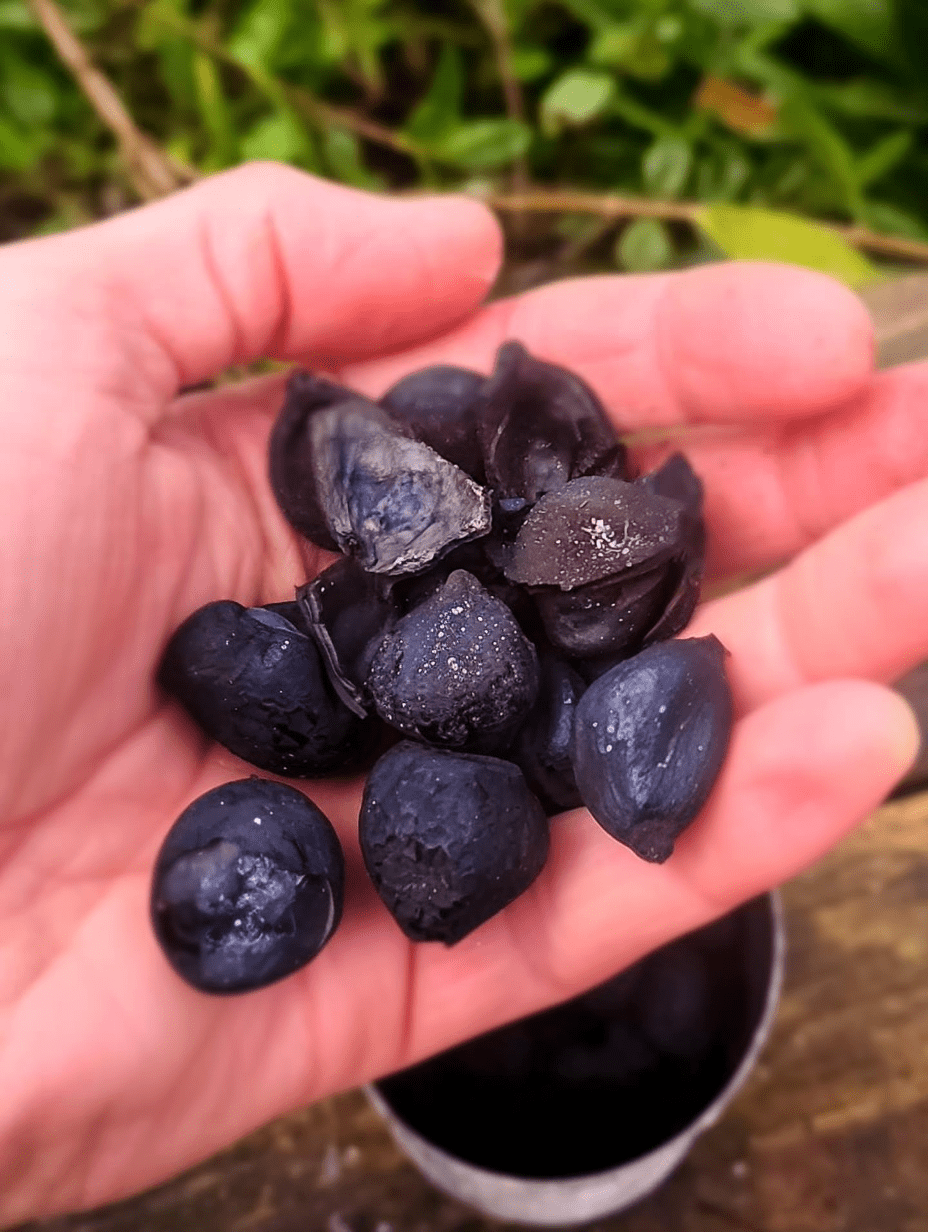
Finished biochar in the can
When the husks have turned to glowing charcoal, it's time to stop the burn. This is a critical step, because if you let them burn for too long, they will turn to ash, and ash has none of the biochar's stability or structure.
Spray or pour water over the char while stirring to make sure all embers are extinguished. This method cools the biochar quickly and prevents further oxidation. Shovel soil over the char to cut off oxygen.
This is useful if you don't have much water available, though it can take longer to cool completely.
Charge (Activate) the Biochar
Fresh biochar is like a dry sponge. It will soak up nutrients from the soil if applied straight away, which can temporarily starve plants of available soil nutrients. "Charging" fills its pores with nutrients and beneficial microbes before use.
Effective charging methods
- Mix with compost: Combine biochar with mature compost and let it sit for 2–4 weeks.
- Soak in nutrient tea: Submerge in compost tea, worm tea, or diluted manure tea for several days.
- Use in animal bedding: Add to bedding for chickens, goats, or other livestock. As animals use the bedding, the biochar absorbs nitrogen and other nutrients.
For most home gardens, biochar works best when blended with compost or other organic matter before adding it to the soil. The goal is to load the pores and surfaces with life and fertility so they start benefiting the soil immediately after application.
- Use about 5–10% biochar by volume in the planting zone.
- Work it into the top 6–8 inches (15–20 cm) of soil to get it where roots can access it.
- For sandy soils, lean toward the higher end of the range to improve water retention.
- In heavy clay soils, start lower and build up gradually to avoid waterlogging.
The combination of biochar's porous structure, stable carbon, and nutrient-holding capacity will improve soil health over time, often with benefits noticeable even your the first growing season.
Safety Tips for Biochar Production
Producing biochar involves heat, flames, and airborne particles, so taking proper precautions is advised to ensure safety. Here are a things to consider when biocharing:
- Only produce biochar in open, well-ventilated areas.
- Wear gloves and a mask when handling dry biochar products to avoid inhaling dust.
- Keep a water source nearby during production.
- Never use chemically treated or painted materials in your biochar feedstock.
A quenching step is required to stop the burn and preserve the biochar structure, and it's also your first line of defense in case of flare-ups. Use a hose with a spray nozzle, or keep multiple buckets of water nearby. If you're working away from a water supply, have a fire extinguisher rated for wood and combustible solids on hand.
- Supervise the burn at all times. Leaving a kiln or pit unattended risks uncontrolled fire spread.
- Clear the area around your burn site. Remove dry grass, leaves, or debris within a few meters to prevent accidental ignition.
- Check local fire restrictions. In dry seasons, outdoor burning is usually limited or prohibited.
- Wear natural fiber clothing like cotton or wool, which is less likely to melt if exposed to sparks compared to synthetic fabrics.
Lastly, choose a location where the wind can disperse smoke but is not so strong that it could spread sparks to dry grass or nearby vegetation. Avoid producing biochar in garages, barns, or other enclosed spaces, even with doors open. Airflow is rarely sufficient in those places to effectively remove harmful gases completely.
Ready-to-use biochar
If you're ready to explore using biochar in your garden, start with what you have around your farm or even something as humble as a macadamia husk.
At Let's Grow Home, we encourage you to experiment with these biochar production techniques and share your results with us here.